The reference photo is 80% of the result
Every scene is only as faithful as the photo it's built from. Spend five minutes on a good reference and every scene you generate afterward holds together. Here's exactly what "good" means.
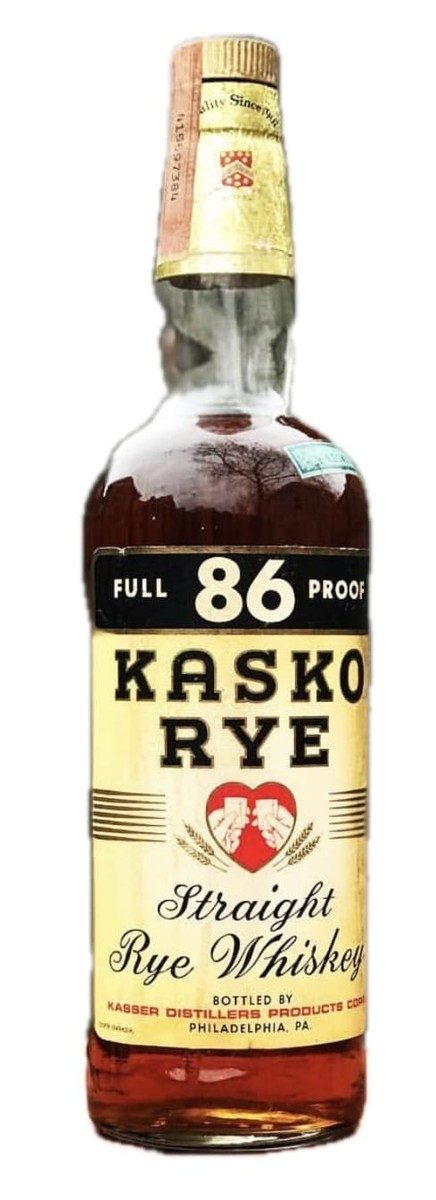
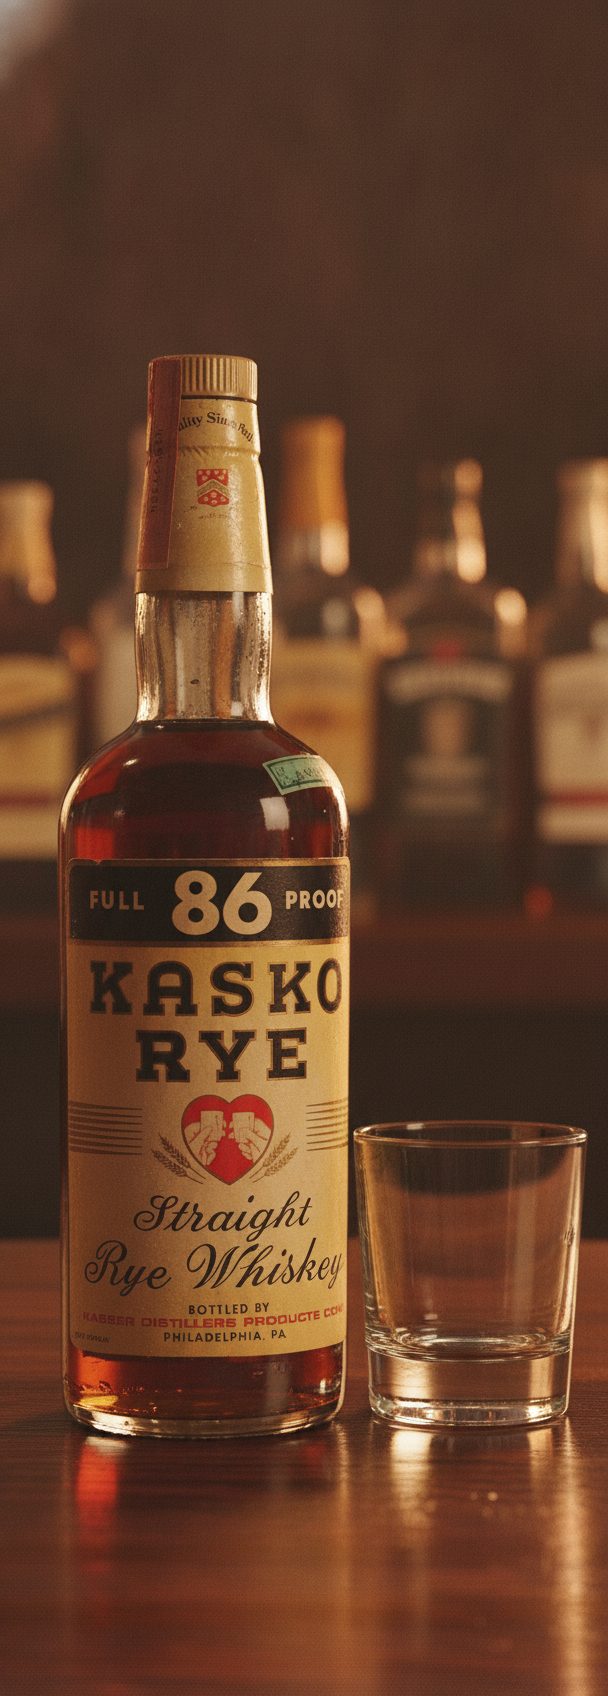
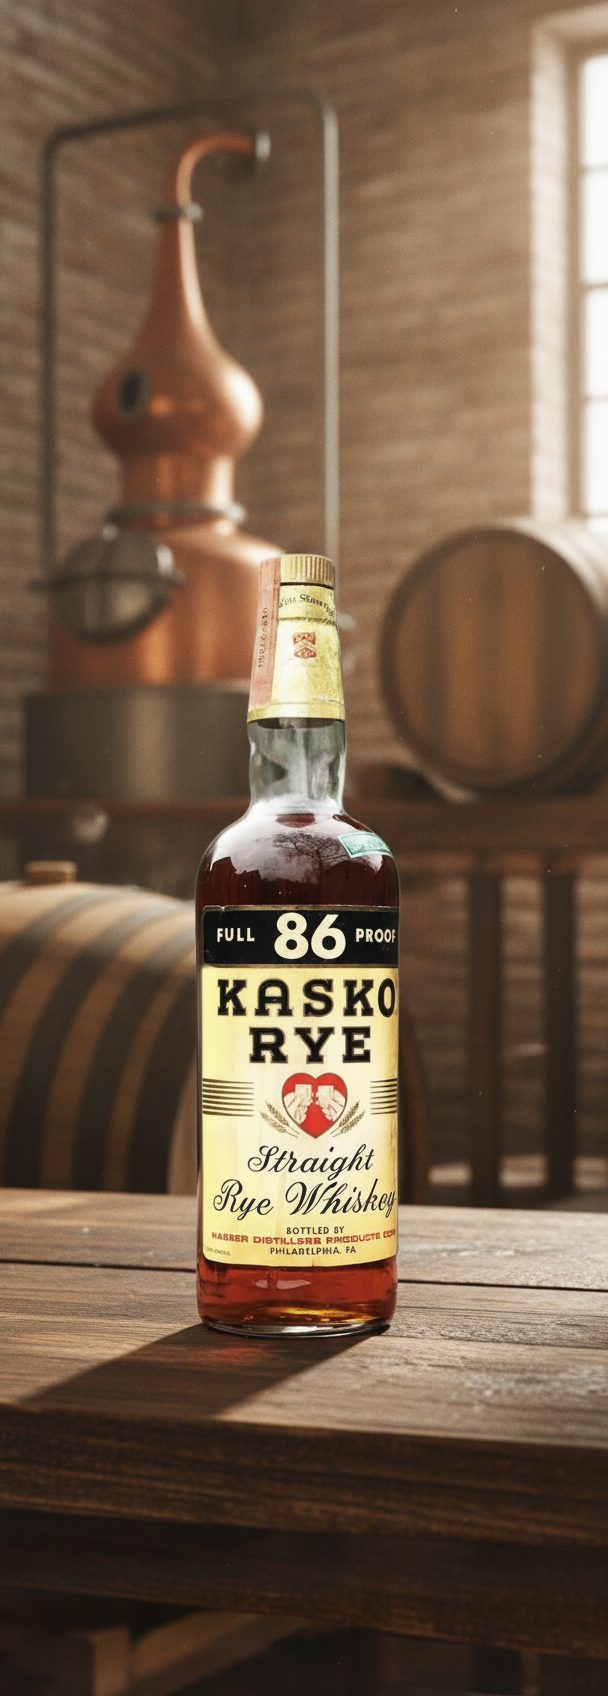
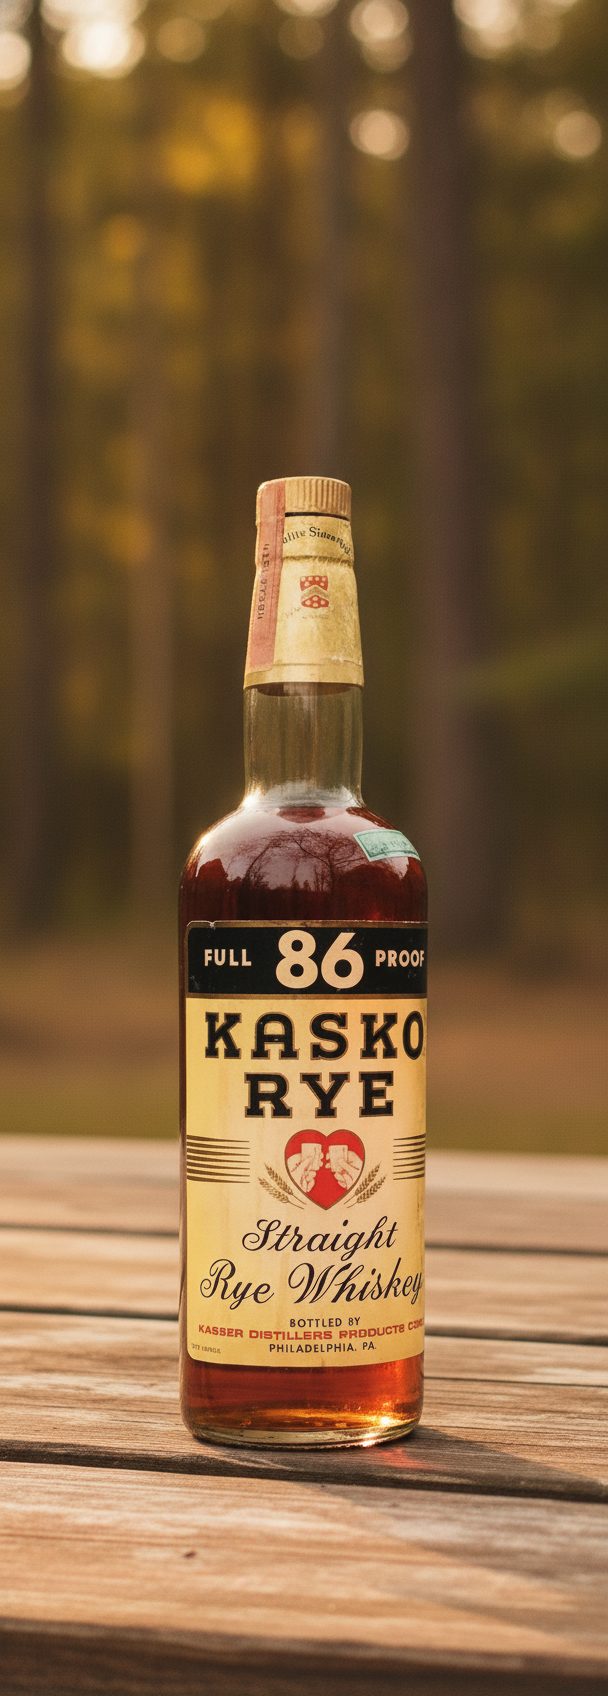
Light it evenly and softly
Flat, even light is the single biggest lever. Shoot near a large window in indirect daylight, or bounce a lamp off a white wall, so the whole product is lit without harsh hotspots or deep shadows. Even light lets the tool read the true color and every part of the label — which is what it then preserves.
Avoid mixed color temperatures (a warm bulb plus cool window light) and avoid direct on-camera flash, which flattens texture and blows out glossy labels.
Get it sharp and front-on
Focus on the label and shoot the product face-forward, roughly at its own height. A crisp, front-facing hero shot gives the clearest information about shape and text; a tilted or soft photo asks the tool to guess, and guesses are where drift creeps in. This isn't optional politeness — in our discovery test the one product photographed from the back (a nutrition-panel shot) led the tool to invent a plausible front, because it can't show a face the photo never captured.
Steady the camera or phone against something, tap to focus on the label, and take a couple of frames to be sure one is tack-sharp. Show the side of the product you actually want in your scenes.
Isolate the product
A plain, uncluttered background — a sheet of white paper, a clean wall — makes it obvious what the subject is. The more the product stands alone in the reference, the more cleanly it can be lifted into a new scene. Busy backgrounds and other products in frame make the boundary ambiguous.
Fill most of the frame with the product so its detail is captured at high resolution. You can always leave room to crop later.
A quick pre-flight checklist
- Even light, no harsh hotspots or deep shadow.
- Sharp focus on the label, taken face-forward.
- Plain background, product isolated and filling the frame.
- True color — check the photo matches the real item before you use it.
- High resolution — the more detail captured, the more that survives.
What a good reference can and can't do
- The tool preserves what your reference captured — it can't restore detail the photo never had.
- Sharper, evenly lit, front-on references produce the most faithful scenes.
- If the real product and your reference photo don't match, fix the photo first — every scene inherits it.
Questions, answered plainly
Does phone-camera quality matter?
A modern phone is plenty. What matters far more than the camera is even light, sharp focus, a front-on angle and a plain background. A carefully shot phone photo beats a rushed studio one every time.
Can I use a photo that already has a background?
You can, but a plain, isolated reference gives the cleanest results because the product's edges are unambiguous. If your only photo is busy, it will still work — just expect the tool to have a slightly harder time separating the item from its surroundings.